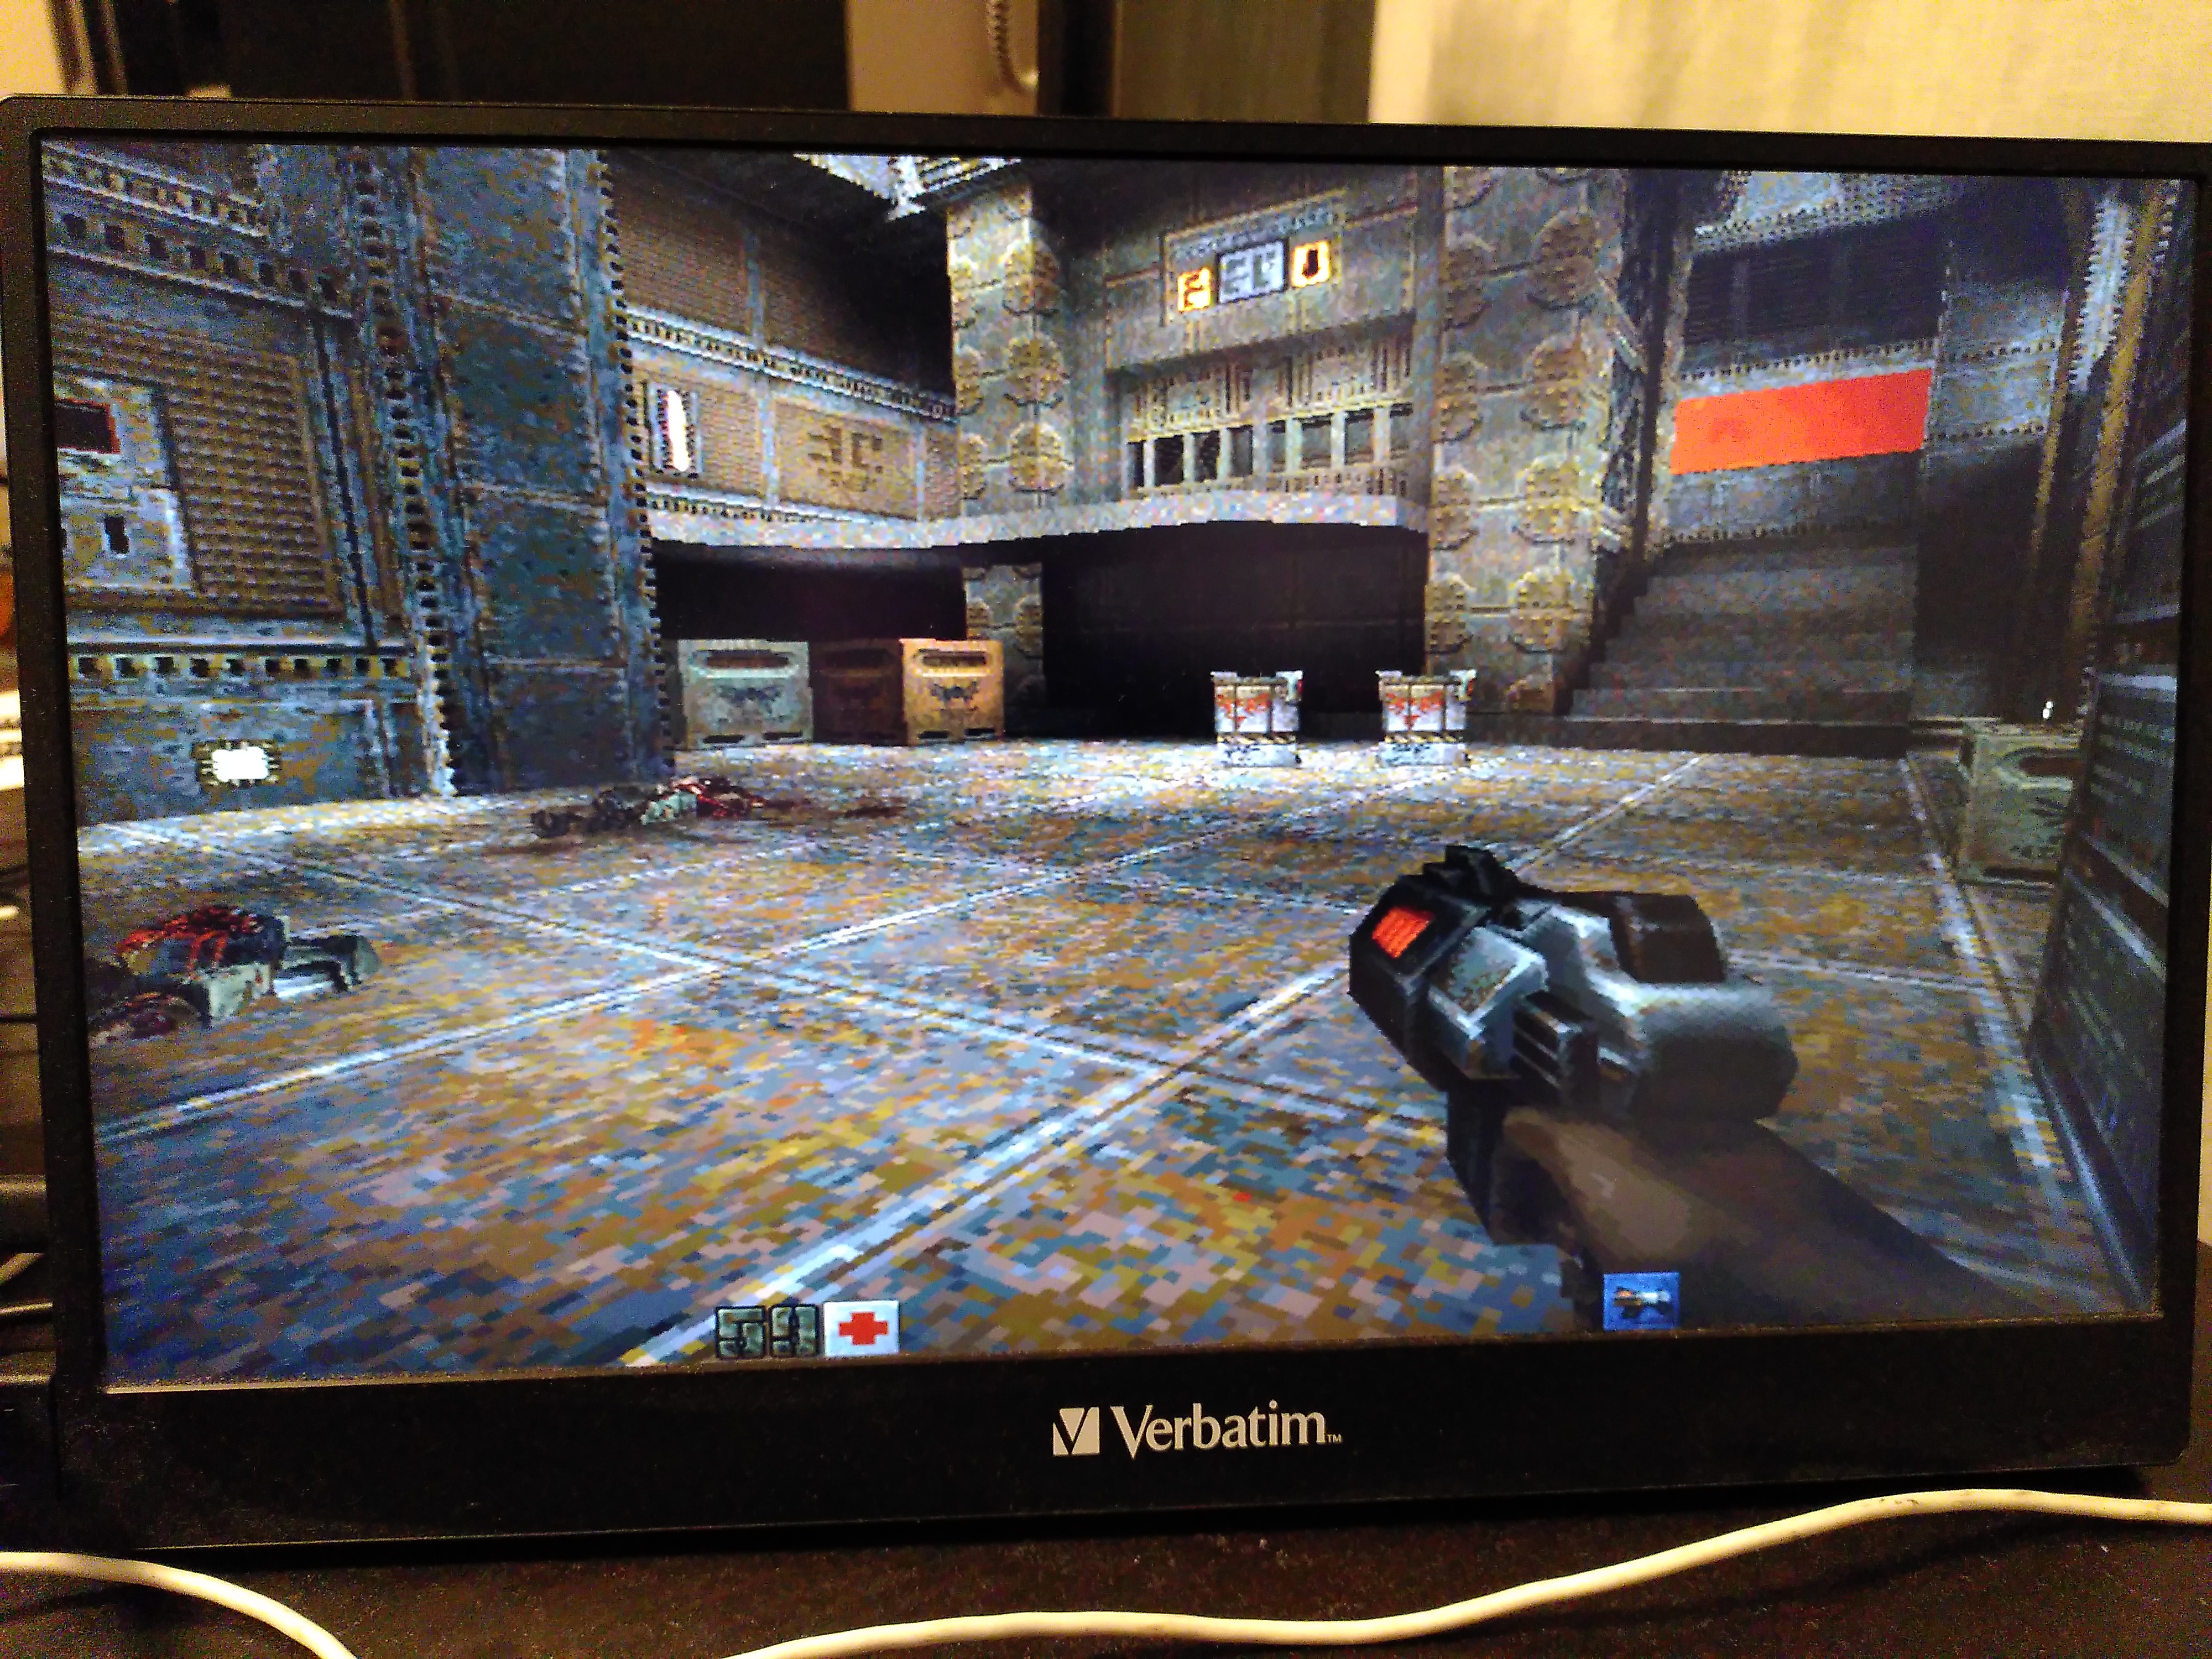
My DIY FPGA board can run Quake II
22-mar-2026
Most people start their journey into custom CPU design by buying an off-the-shelf FPGA dev board. I decided to take the long way around: instead of just writing Verilog code, I started with buying a soldering iron.
This is the story of how I dived into electronics design with almost zero prior experience. My goal was ambitious: build an FPGA-based device capable of booting Linux, connecting to a screen and keyboard, and allowing me to write and compile code directly on the machine itself.
Why do this? It has no practical value – CPUs in FPGA are always more expensive and less performant than actual CPU chips. But it is a hobby. My idea of having fun.
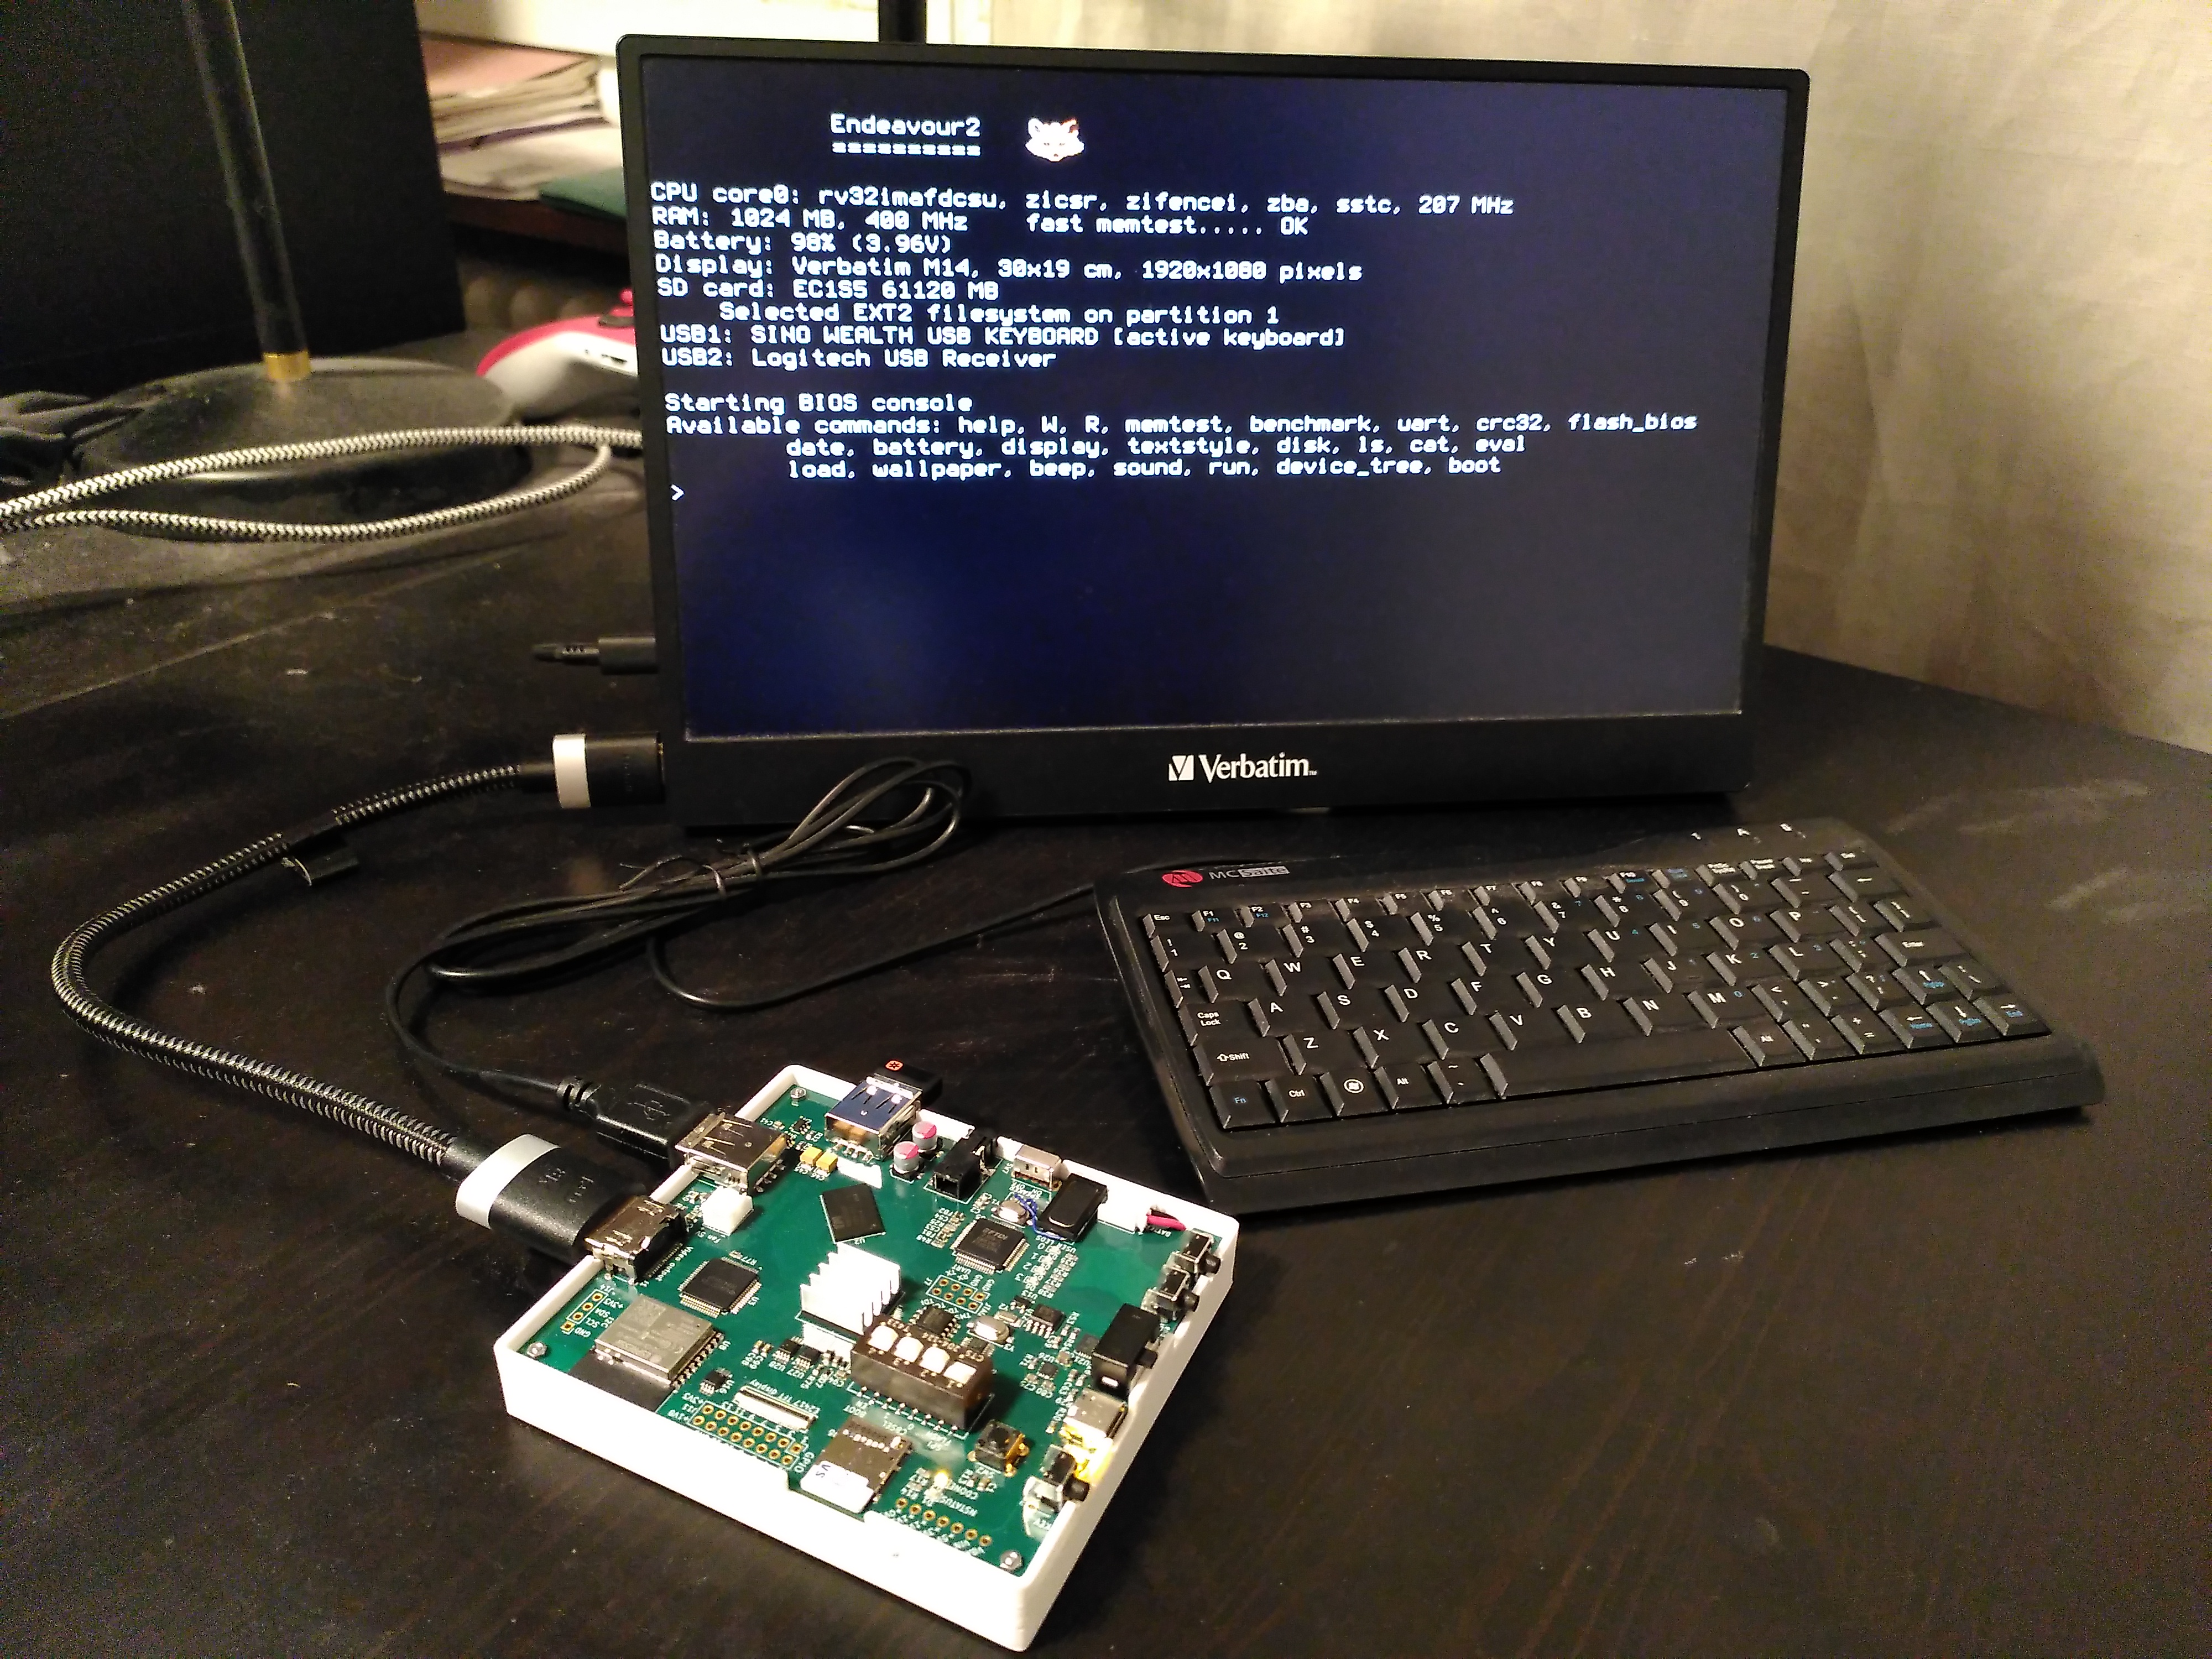
After two years of work, the results have far exceeded my own expectations. What I ended up with is a functional computer that is more than capable of running Quake II.
The project includes:
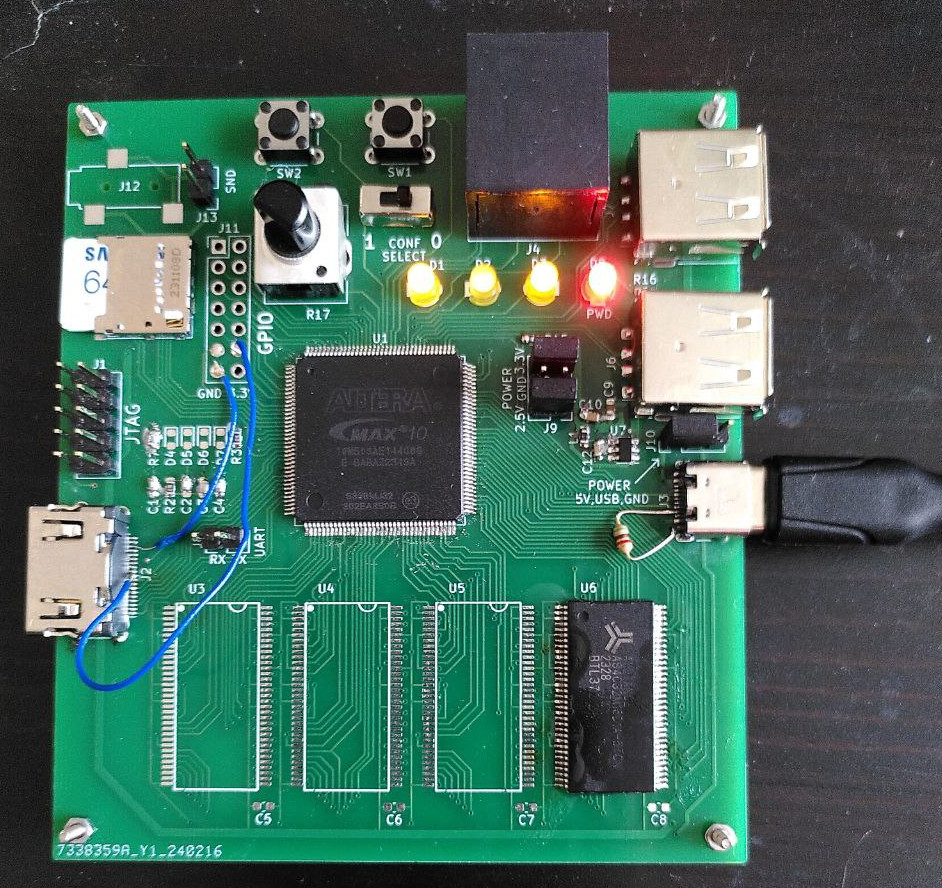
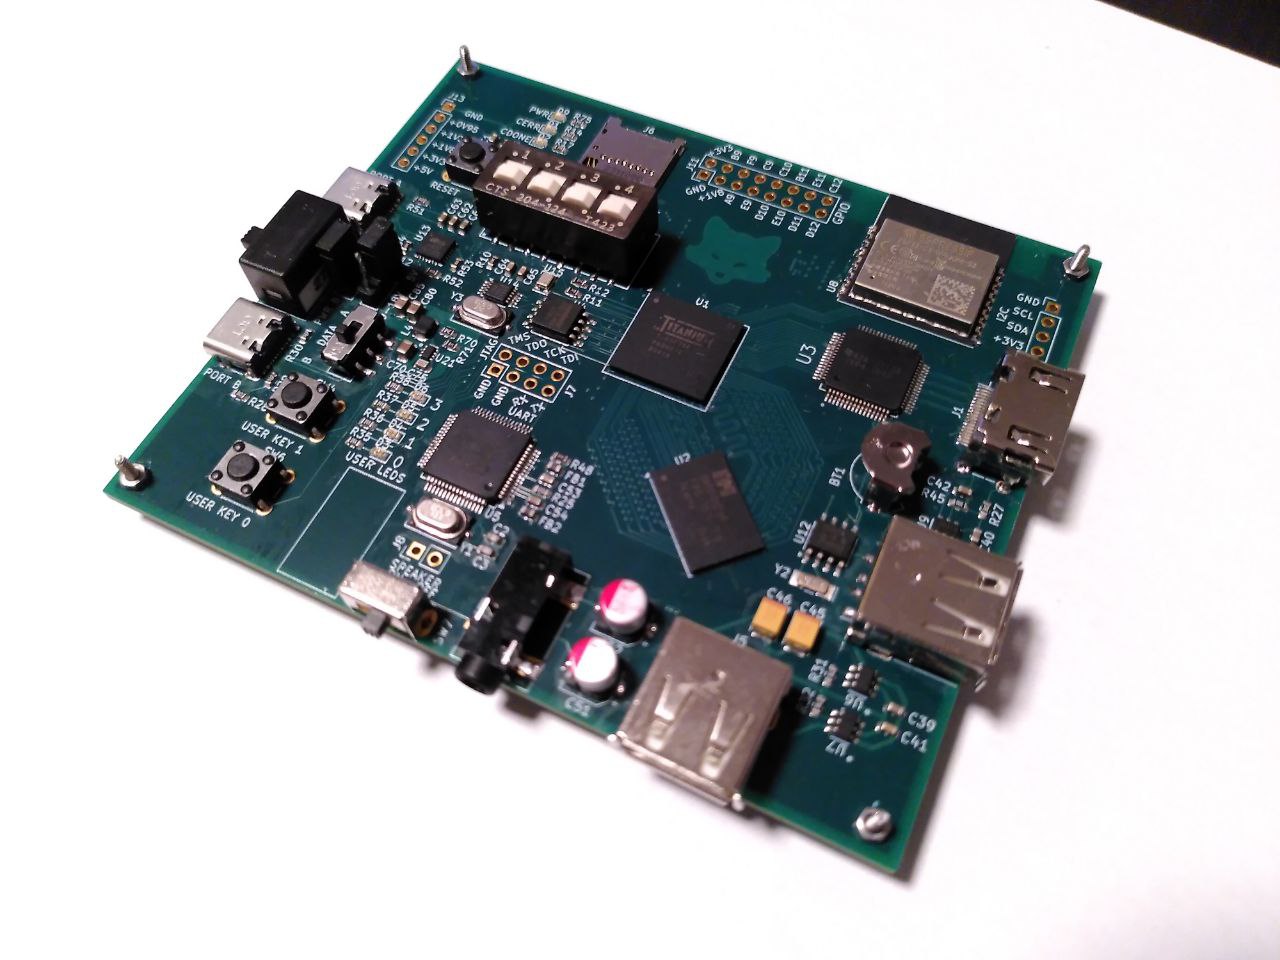
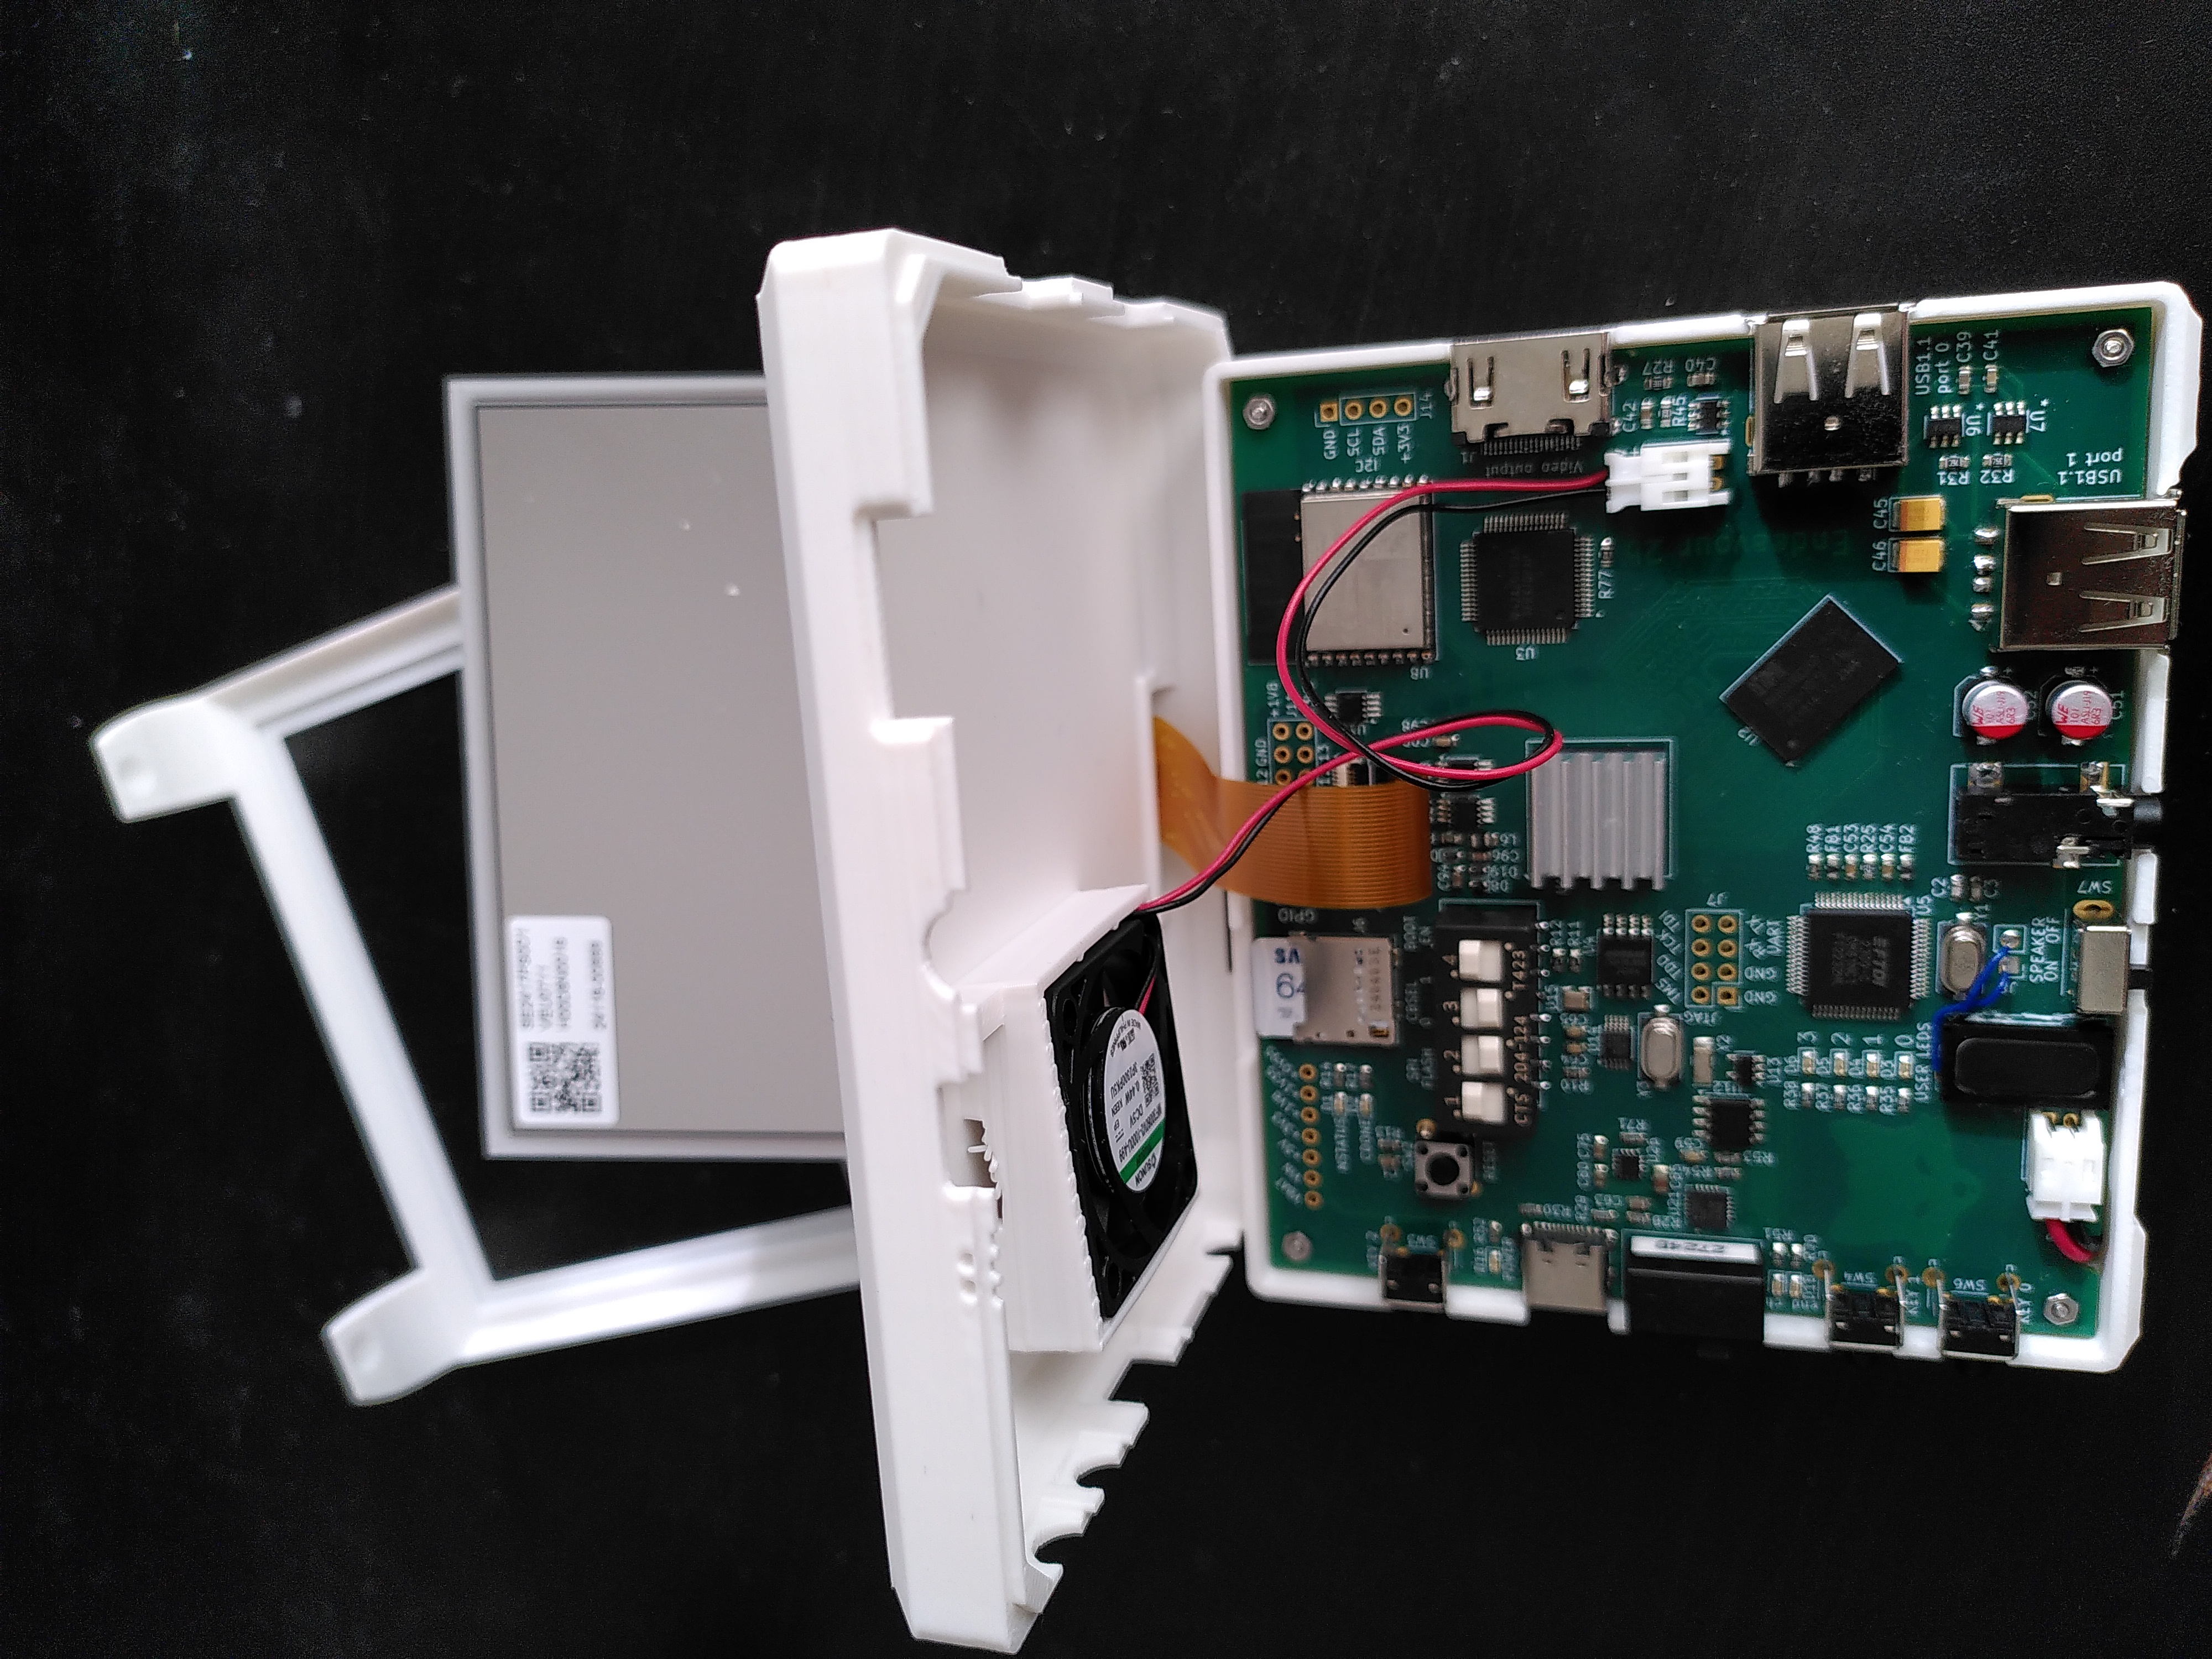
- Hardware design. I designed the PCB in Kicad, had it manufactured in China, and then soldered everything at home.
- SoC design. I used several IP cores (including VexiiRiscv processor core), but many components are designed from scratch.
- BIOS. Written from scratch (aside from an integrated Dhrystone benchmark). Initialization, memtest, RISC-V SBI, command line, EXT2 filesystem, linux bootloader. I enjoyed writing plain C and assembly code with no library dependencies and no “magic” hidden underneath. After the mess of frameworks I deal with at work, this was refreshing.
- Linux drivers. Custom drivers for my custom peripherals.
- X11 video driver. Modification of fbdev driver with hardware acceleration of window moving.
- TTY implementation. I mean the program receiving something like
^[?25l^[5;10H^[32;1mfrom ncurses and transforming it to what my video controller’s text mode expects.
All the code, schematics, and gerber files are available on github.
Of course, I could have made things much easier for myself. I could have skipped the first step and bought some existing FPGA board. Instead of the second step, I could have used a tool like LiteX SoC builder, and for the third, I could try to reuse OpenSBI and U-Boot. But this way I would miss all the fun.
On the other hand, I could have made it much harder. I could have avoided pre-made IP blocks entirely, written my own operating system from scratch, built a custom compiler. But that would become too long and tedious.
Thus, the parts which I find interesting I did on my own, and tried to use existing solutions wherever it made sense.
The article turned out to be quite long, so I split it into several parts.
Part 2/6: First prototype
Part 3/6: Now it mostly works

Part 4/6: Next generation
Part 5/6: One more iteration
Part 6/6: Optimizing hardware to run Quake II
I previously published an earlier version of this text on habr.com in Russian.
Next part: First prototype (2/6)